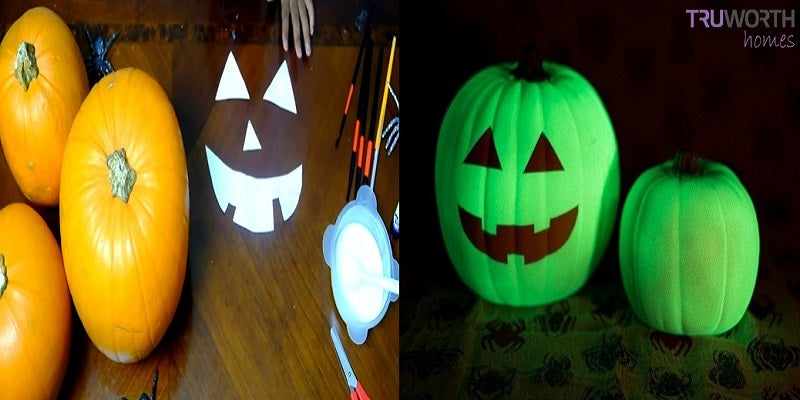
Glow in the Dark Pumpkins – DIY Decoration with Radium Paint

Summer holidays are coming! During these days, children do a lot of things such as drawing, join dancing class, singing glass, and DIY decorations!
If you have come here, you are definitely interested in DIY decoration! Here we will learn how to make glow in the dark pumpkins with luminous paint.
You will need following this to complete the project:-
- Pumpkin toy.
- Paper.
- Pen.
- Cutter.
- Glue.
- Rust-Oleum glow in the dark paint.
- Paint brush.
Step 1st: Take a paper and just draw two eyes, 1 nose and smiley mouth on a paper.
Step 2nd: Afterwards, just cut them with the help of cutter or scissor. See the below image for clear vivid.

Step 3rd: Afterwards, just paste the eyes, nose and smiley mouth on pumpkin with the help of glue.
Step 4th: Once the eyes, nose and smiley are properly stuck, just apply Rust-Oleum Specialty glow in the dark paint. See the below image for better picture!

Step 5th: Once the paint is applied on pumpkin, its time leave it to dry properly.
Step 6th: Let the radium particle get charge with natural or artificial lights. Once the particles are charged properly, the pumpkin is ready to glow in the dark. See the below image.


